evroc Terraform provider


Modern cloud infrastructure deserves a modern Infrastructure-as-Code experience. Today we're releasing the evroc Terraform provider and Go SDK, giving developers programmatic access to our API.
Here's how to get up and running.
Getting started
The simplest way to get started is to install the evroc CLI and log in:
evroc login
This creates ~/.evroc/config.yaml with your credentials, project, and region. Both the SDK and the Terraform provider read this file automatically. No further configuration needed.
Deploying a VM using the terraform provider
Next, deploy a VM.
On your machine, create a fresh directory called "evroc-terraform-demo", for example.
In that directory, create a file called main.tf and copy this block into it:
terraform {
  required_providers {
    evroc = {
      source  = "evroc-oss/evroc"
      version = "~> 0.4"
    }
  }
}

# Credentials are read automatically from ~/.evroc/config.yaml (created by `evroc login`)
provider "evroc" {}

# Query available disk images and compute profiles (optional)
data "evroc_disk_images" "available" {}
data "evroc_compute_profiles" "available" {}


data "evroc_security_group" "default_allow_ssh" {
  name = "default-allow-ssh"
}
data "evroc_security_group" "default_allow_web_protocols" {
  name = "default-allow-web-protocols"
}
data "evroc_security_group" "default_allow_egress" {
  name = "default-allow-egress"
}

# Create a public IP for the VM
resource "evroc_public_ip" "vm" {
  name = "vm-public-ip"
}

# Create a boot disk with Ubuntu 24.04
resource "evroc_disk" "boot" {
  name  = "vm-boot-disk"
  size  = 20
  image = data.evroc_disk_images.available.ubuntu_minimal_24_04_1
  zone  = "a"
}

# Create the virtual machine
resource "evroc_virtual_machine" "web" {
  name      = "web-server"
  flavor    = data.evroc_compute_profiles.available.a1a_s
  boot_disk = evroc_disk.boot.fqid
  zone      = "a"

  # Attach public IP
  public_ip = evroc_public_ip.vm.fqid

  # Attach security group
  security_groups = [
    data.evroc_security_group.default_allow_ssh.fqid,
    data.evroc_security_group.default_allow_web_protocols.fqid,
    data.evroc_security_group.default_allow_egress.fqid,
  ]

  # Add your SSH public key
  ssh_keys = [
    "ssh-ed25519 AAAAC3NzaC1lZDI1NTE5AAAAI... user@example.com"
  ]

  # Custom cloud-init replaces the default, so you must include the SSH user
  # setup to keep SSH access working. Add your packages/files after the user block.
  cloud_config_user_data = <<-EOF
    ## template: jinja
    #cloud-config
    ssh_pwauth: false
    manage_etc_hosts: localhost
    users:
      - name: evroc-user
        gecos: evroc VM user
        lock_passwd: true
        sudo: ALL=(ALL) NOPASSWD:ALL
        groups:
          - sudo
        shell: /bin/bash
    {% if public_ssh_keys %}
        ssh_authorized_keys:
    {% for pubkey in public_ssh_keys %}
          - {{ pubkey }}
    {% endfor %}
    {% endif %}
    package_update: true
    packages:
      - nginx
    write_files:
      - path: /var/www/html/index.html
        content: "<h1>Hello from evroc!</h1>"
  EOF
}

# Output the public IP address and SSH command
output "web_server_ip" {
  value       = evroc_virtual_machine.web.public_ipv4_address
  description = "Public IP address of the web server"
}

output "ssh_command" {
  value       = "ssh evroc-user@${evroc_virtual_machine.web.public_ipv4_address}"
  description = "SSH command to connect to the VM"
}
Replace the SSH public key with your own, usually found in ~/.ssh/id_ed25519.pub or ~/.ssh/id_rsa.pub.
Next, run:
terraform init
terraform apply
This will download the provider from https://registry.terraform.io/providers/evroc-oss/evroc/latest and then deploy a VM to evroc's cloud.
The output will look something like this:
terraform apply
data.evroc_security_group.default_allow_egress: Reading...
...

Terraform used the selected providers to generate the following execution plan. Resource actions are indicated with the following symbols:
  + create

Terraform will perform the following actions:

  # evroc_disk.boot will be created
  + resource "evroc_disk" "boot" {
...
    }

  # evroc_public_ip.vm will be created
  + resource "evroc_public_ip" "vm" {
...
    }

  # evroc_virtual_machine.web will be created
  + resource "evroc_virtual_machine" "web" {
...
    }

Plan: 3 to add, 0 to change, 0 to destroy.

Changes to Outputs:
  + ssh_command   = (known after apply)
  + web_server_ip = (known after apply)

Do you want to perform these actions?
  Terraform will perform the actions described above.
  Only 'yes' will be accepted to approve.

  Enter a value: yes

evroc_public_ip.vm: Creating...
evroc_disk.boot: Creating...
evroc_public_ip.vm: Creation complete after 2s [id=vm-public-ip]
evroc_disk.boot: Still creating... [10s elapsed]
evroc_disk.boot: Still creating... [20s elapsed]
evroc_disk.boot: Still creating... [30s elapsed]
evroc_disk.boot: Still creating... [40s elapsed]
evroc_disk.boot: Still creating... [50s elapsed]
evroc_disk.boot: Still creating... [1m0s elapsed]
evroc_disk.boot: Creation complete after 1m5s [id=vm-boot-disk]
evroc_virtual_machine.web: Creating...
evroc_virtual_machine.web: Still creating... [10s elapsed]
evroc_virtual_machine.web: Still creating... [20s elapsed]
evroc_virtual_machine.web: Creation complete after 26s [id=web-server]

Apply complete! Resources: 3 added, 0 changed, 0 destroyed.

Outputs:

ssh_command = "ssh evroc-user@194.14.1.1"
web_server_ip = "194.14.1.1"
You will see that this outputs a public IP. If you wait a minute or two, you should be able to navigate to this IP from a web browser.
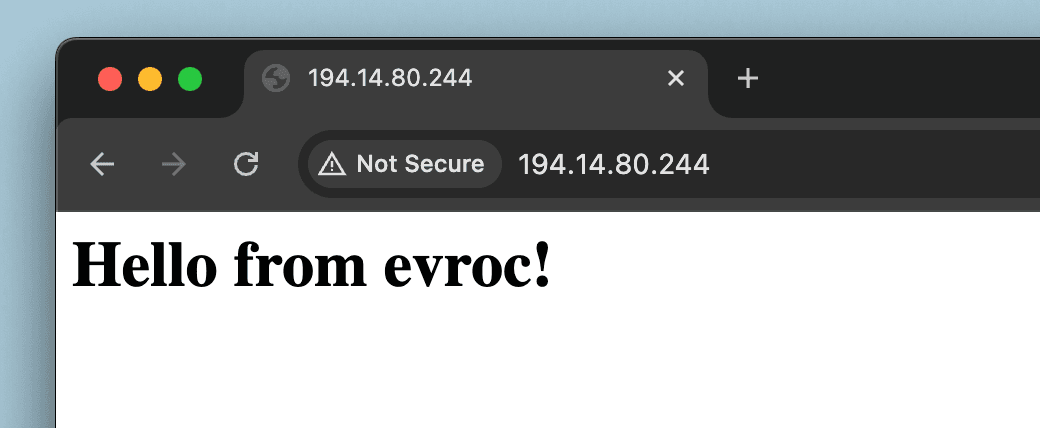
While this is a simple starting point, you now have a VM running on evroc's sovereign European infrastructure, with infrastructure as code you can version, review, and extend.
Links
- Terraform Provider docs, reference guide to the terraform provider: https://registry.terraform.io/providers/evroc-oss/evroc/latest/docs
- evroc docs, official API reference documentation: docs.evroc.com
- Terraform provider source code: https://github.com/evroc-oss/terraform-provider-evroc
- evroc go SDK source code: https://github.com/evroc-oss/evroc-go-sdk
Written by
Andrew Lee is a Senior Software Engineer at evroc in London. He builds evroc’s compute and network offerings. Before joining evroc, Andrew worked at Microsoft on Azure 5G. Outside work, Andrew performs improv, plays cricket, and builds contraptions for escape rooms.
The European Cloud